Log in or create new account to save this product to your wishlist.
How to get rid of garden waste: make compost!
Don't chuck away your garden waste. Use it to make nutritious soil for your lawn and flower beds. How to get rid of garden waste the green way.
Latest blogposts
7 MIN 22 Jul How to keep your lawn in shape this summer 9 MIN 15 Jul Watering Your Garden: 10 Top Tips! 11 MIN 15 Jul Is Your Grass Type Right for your Garden? 4 MIN 03 Sep Gardening in September — jobs to do 7 MIN 23 Aug How to Encourage Bees in Your Garden 5 MIN 14 Aug Pruning Lavender: when, why and how?Most of us in the UK have a garden waste wheelie bin supplied by the local council. For many of us, that’s the green-coloured bin, but in other parts of the country, you’ll put garden waste in a bin of a different colour. If you’re not sure, check your local council website for clarification on how to get rid of garden waste.
But:
Throwing your garden waste in the green bin is probably a waste of nutritious resources. Because most garden (and some kitchen) wastes are suitable for composting.
In this article, we explore how to get rid of garden waste – explaining how and why home composting is best.
Ready? Let’s get started.
What are the benefits of home composting?
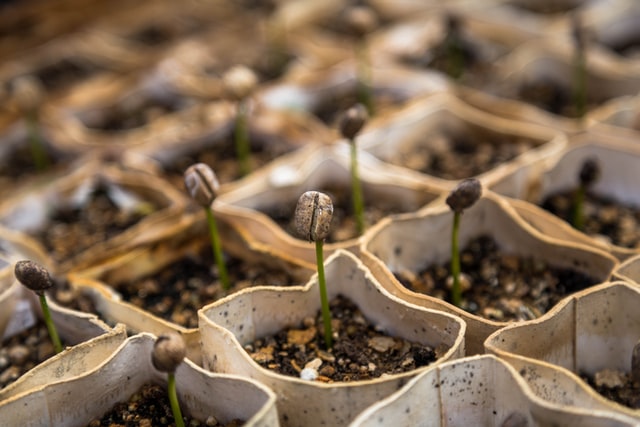
Of course, the principal benefit of garden waste composting is an ongoing supply of nutritious compost to add to your veg patch, flower beds, or top soil.
It may take a little time and effort to get a compost heap started, but once it’s developed a little ecosystem of its own, your pile becomes the gift that just keeps giving.
What can I do with homemade compost?
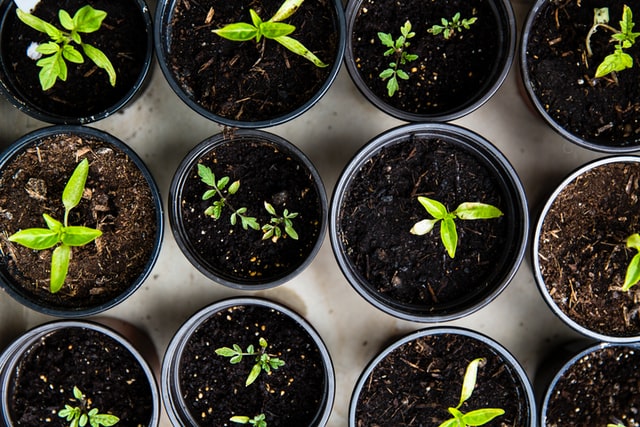
Homemade compost offers many benefits, from improved moisture retention and nutrient levels to a better soil structure and balanced soil pH.
The top 10 uses for homemade compost are:
- Mulch – compost applied to the soil surface helps maintain moisture because it prevents evaporation while preventing weeds. Win-win!
- Potting soil – mixed with equal parts vermiculite and top soil, compost is a nutritious addition to potting soil.
- Compost tea – more a beer than a tea, compost tea is a brewed liquid created from homemade compost that gets straight to your plant’s roots. Compost tea is like espresso for your plants, with a nourishing concentration of bacteria, fungi, protozoa, and nematodes. Read on to find out how to make it!
- Planting composite – adding compost to the planting hole when adding new plants to your garden helps vigorous growth and healthy root development.
- Spring bulb boosts – if you dig your bulbs up for over-winter storage, add compost to the planting hole to help the bulbs that have divided.
- Topsoil for your lawn – add 1-2 inches of compost to your lawn surface in the weeks before your autumn fertilisation to improve the tilth of your soil.
- Flower bed topdressing – if you’re expecting a period of rain, topdress your flower beds with homemade compost. The rain will wash the nutrients down to your plants’ roots.
- Feed your fruit trees – like flower bed topdressing, applying a layer of compost around the tree’s trunk before rain will feed your fruit trees, encouraging better fruit production.
- Container soil improver – add your screened compost (stones, undecomposed twigs removed) to your containers for a much-needed nutrient boost.
- Edible fruiting plants – edible fruits, such as tomatoes, aubergines, melons, cucumbers, and squash, need nitrogen to produce their fruit. Homemade compost is rich in nitrogen. Add compost to the planting holes when transferring from the seed pot, and top dress a few times throughout the growing season.
How long does it take for garden waste to break down into compost?
Hot composting can take as little as 6-8 weeks, but it’s likely to take much longer. Ultimately, the speed of composition relies on three factors:
- The size of the heap (and what you add to it)
- How often you turn the contents of the heap
- Whether you’re following a cold or hot composting process
What you add to your heap determines the speed of decomposition – principally, smaller pieces of shredded or chopped materials will break down more quickly. Also, ensure there’s a good mix of brown, carbon-rich material and green, nitrogen-rich ingredients – this will speed up the composting process.
Turn your compost heap
Turning your heap helps improve the aeration of the resultant compost. So, by moving larger pieces into the pile’s centre, they’ll break down more rapidly.
Cold composting is much slower than hot composting. The main difference between hot and cold composting is the effort required to nurture it.
When you add new items to your compost and just leave them to decompose on their own without any intervention, that’s cold composting. In contrast, hot composting requires more intervention: regular turning and observation.
More about composting in a future blog. Also, you can find out how to create leafmould for a nutritious mulch for your flowerbeds.
What can I add to my homemade compost heap?
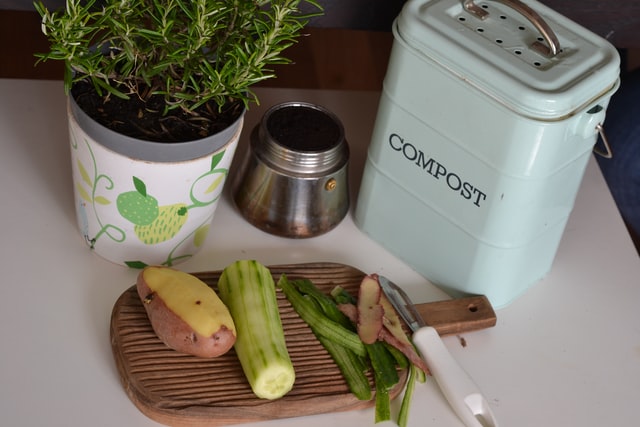
You can put most organic materials on your compost heap, but there are some you should avoid.
The following are good to add:
- Grass clippings
- Tree leaves
- Newspaper (with black & white print(
- Kitchen veg scraps, inc used coffee grounds, potato and banana peels, lettuce, avocado skins, etc.)
- Printer paper
- Cardboard and wood shavings/sawdust
- Disease-free garden waste
- Animal manure from vegetarian animals, such as cows, horses, rabbits, hamsters, etc.
You CAN add to your compost heap:
Non-vegetarian manure – it’s possible to compost waste from meat-eating animals, such as dogs, cats, and even humans. BUT these manures are likely to carry disease-spreading pathogens. These manures are only suitable for hot composting to kill off the potentially harmful microbes.
Invasive weeds – while composting invasive weeds such as Canada thistle is OK, these weeds can come back from tiny pieces of plant material. So, while it won’t necessarily harm your compost, it could contribute to the return of an unwelcome invasive weed. This suggests it’s probably best to avoid composting invasive weed species.
Some food products – while eggs, noodles, and bread benefit your compost’s biodiversity, they can attract nighttime vermin. So, it’s best to avoid adding scraps that contain animal-based products such as egg, dairy, fats, and oils – unless you can lock your compost bin.
Coloured-ink newspapers – some coloured print papers are coated with a thin wax layer, which can prevent decomposition. Shredding helps speed up the decay, but it might be better to avoid coloured prints altogether.
Do NOT add to your compost heap:
Diseased garden wastes – avoid composting any plant showing signs of disease, such as blight. Many diseases survive the decomposition process, meaning that you spread disease when you add your compost to your garden soil.
Meat, dairy, bones, and fat – these attract vermin and can promote disease. Fats include butter and oil. However, it’s usually fine to add these wastes to your council’s green waste – check your local council website for confirmation.
How do I know when my compost is ready for use?
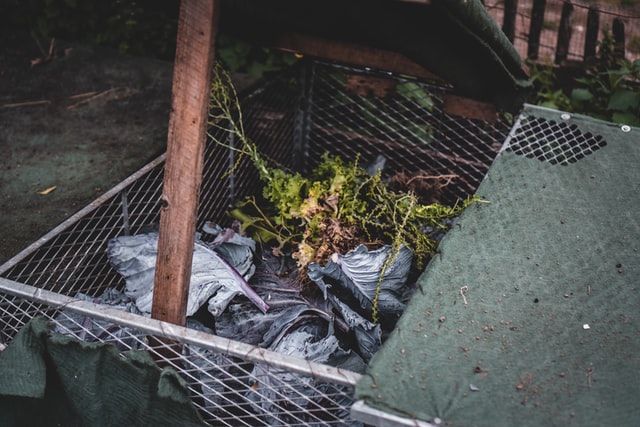
If your compost looks like crumbly, dark brown earth that smells like earth, it’s ready for use. If the compost still smells of rotting vegetables, you should leave it for a while longer.
Hot composts
If you’re using the hot method, you’ll know when your compost is ready because you’ll see it decompose over time. Each time you turn your heap, you’ll notice it releasing steam – this is a sign that the pile is actively decaying.
However:
When you turn your heap over and notice that it’s no longer heating up, that’s a sure sign it’s almost ready to return to your garden soil. Leave it a couple more weeks to allow it to cure, and it’s ready to use.
Those extras curing weeks are essential – it’s a time for the heap’s microbes to develop at a lower temperature and for heat-intolerant organisms, such as earthworms, to penetrate the pile.
Cold composts
Cold composting takes much longer – it’s likely to take at least a year. Again, look for crumbly, dark brown earth that smells like soil.
If you don’t shred the compost ingredients, they’ll take longer to break down. Egg- and peanut shells, for example, could take several years to break down entirely. Twigs, avocado pits, and wood chips take longer than apple cores, tea bags, and mouldy bread.
Ready-to-go compost shows no signs of its original composition; in other words, there should be nothing slimy or resembling kitchen or garden waste. Ultimately, if you can pick something out of your compost heap and still identify what it was, it’s too soon to use your compost.
If it’s possible to pick out un-decomposed materials, then the rest of the compost should be OK to use.
How do I start my compost heap?
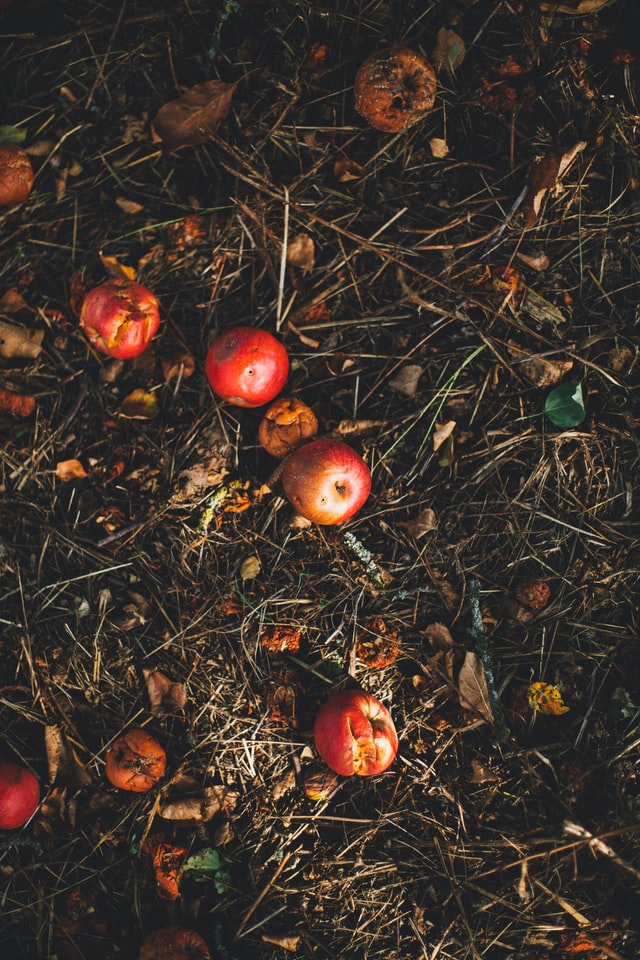
Spreading compost is like alchemy for your garden soil – it adds nutrients, texture, beneficial organisms, and moisture retention that restores your soil’s vitality. This makes homemade compost the perfect composite for healthy plant growth.
And the biggest bonus – garden compost is free! And it’s also good for the environment because it reduces landfill waste and is a green alternative to using chemicals. But if you’re a composting newbie, you’ll need to know a couple of things to get your heap started.
Firstly, you need a container for your compost because you want it to generate heat (and containing it is the best way for your heap to maintain its heat). It’s possible to create a pile with no container, but it could look rather unsightly – for aesthetics, if nothing else, consider investing in a composter from your garden centre.
Set up your composter on bare earth. Your compost bin must have no bottom because you need worms and other beneficial organisms from the soil to help aerate the heap’s contents while decomposing.
And then follow this process:
- Lay straw or a layer of twigs to add drainage. Make this initial layer around 3in deep.
- Add your waste ingredients in layers – most notably, alternating between dry and moist. Dry ingredients are things like fallen leaves, straw, etc., while moist ingredients include kitchen waste, tea bags, etc.
- Add manure – this includes green manure (grass clippings, clover, buckwheat) or any other nitrogen source. This will activate the pile. If you have none of these, you could add a powdered compost accelerator from your local garden centre.
- Maintain moisture – Water your pile occasionally.
- Cover the pile using anything you have lying around the garden, such as a plank of wood, a scrap of carpet, or plastic sheeting. This is to maintain moisture and encourage heat. It also protects the pile from rainwater, making the heap too wet.
- Turn your heap – every 2-to-3 weeks, give your pile a turn with a shovel or pitchfork to aerate it. This adds oxygen, which helps with the process of decomposition. Alternatively, you could buy a rotating compost tumbler, which makes light work of turning your heap.
- Mix in new ingredients – once your heap is established, continue adding to it, but mix it in rather than leaving it as a new layer.
- Your compost is ready once the contents are crumbly and dark brown. It should smell like earth and have no large, undecomposed contents.
How to make compost tea
The term “tea” suggests an infusion, but – as I mentioned earlier – compost tea is more a fermentation than a tea. It’s more like beer than tea.
But:
Don’t drink it. It’s great for your plants. Remember, it’s – well, mud beer – so, it’s not suitable for drinking. Obviously.
When poured over your garden soil, compost tea gets straight to your plants’ roots while increasing the soil’s population of beneficial organisms – predatory nematodes and mycorrhizal fungi.
Brewing compost tea takes around two-to-three days – don’t leave it longer because it could develop unfriendly bacteria such as salmonella and e.coli.
The ingredients are as follows:
- 20-litre bucket
- 20 litres of non-chlorinated water. Rainwater is best, but if you’re using tap water, allow it to sit for at least 24-hours before using.
- 260g of organic compost
- 1tbsp blackstrap molasses (unsulphered)
- 1tbsp liquid kelp fertiliser
- 1tbsp liquid fish fertiliser
How to make your compost tea:
- Add the compost, molasses, kelp- and fish- fertiliser into a burlap bag (or a nylon stocking will work).
- Tie the ingredient bag with a string attached to the outside of the bucket. This means that you don’t need to dip your hand into the bucket to retrieve the bag, keeping the solids separate from the liquids.
- Let this all sit for roughly 24-hours. You can go slightly over, but you’ve gone too far and need to start again if the liquid begins to smell bad.
- Remove the bag.
- Create a 1:4 dilution (1-measure of tea to 4-measures of water).
- Pour the diluted compost tea over your soil with a watering can within 4 hours. Don’t leave it longer, or the microbes will begin to die.
How to get rid of garden waste: use your council bins
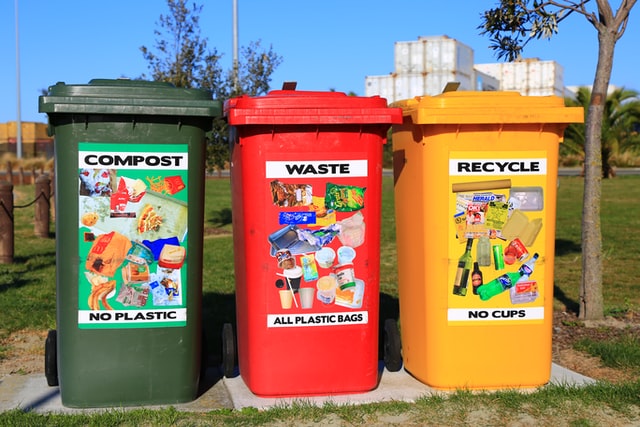
Alternatively, the easiest way to get rid of garden waste is to use your garden waste bin supplied by your local council.
But where’s the fun in that?
You’ve probably heard the expression, “where there’s muck, there’s brass”, and it couldn’t be any more true of your garden waste. Homemade compost is generally as nutritious as the compost you buy in bags in garden centres, so save yourself some £££s and get a new hobby! It’s nutrition you’re throwing away, so make the most of it.
Ready to get started? Or do you have more questions?
I hope you’ve got enough information here to start your composting project. But we love to hear from you at MOOWY – so if you do have questions, just drop us an email.
We’ll get back to you as promptly as we possibly can.
Happy composting!
Leave a comment
Your answer will be displayed on the site and the interested party will be notified by email.
Leave a comment
Have a question or want to share your experience? Leave us a comment.
Read more
The best tips and tricks for a lush green lawn
 4 MIN
03 Sep
Gardening in September — jobs to do
 7 MIN
23 Aug
How to Encourage Bees in Your Garden
 5 MIN
09 Aug
4 Tips for more Ergonomic Gardening!
 Scarifying Kit
All products after scarifying | Quickly restores the lawn after scarifying | Outsmart weeds quickly with the use of this kit
From: € 39.99
 Spring Lawn Care Kit
MOOWY’s choice for the spring | Quick recovery of your lawn after winter | A strong lawn prevents weeds
From: € 25.99
 Long Lasting Lawn Fertiliser
Effective for 90 days | See results in 14 days! | Suitable for all types of grass and soil
From: € 13.99
Do you want a lawn calendar?
🌱 All important maintenance moments for your lawn during the year. Leave your email and we will send you the lawn calendar for free.
Enter your email
Receive the lawn calendar in the mail
Enjoy a green lawn all year round!



Comments (0)
There are no comments yet. Well then, what are you waiting for to
Be the first to write your comment!inaugurate this pretty page?
Do you have some comments?